A client has asked me for
Notes, Examples, Ideas, Drawings
for Decks.
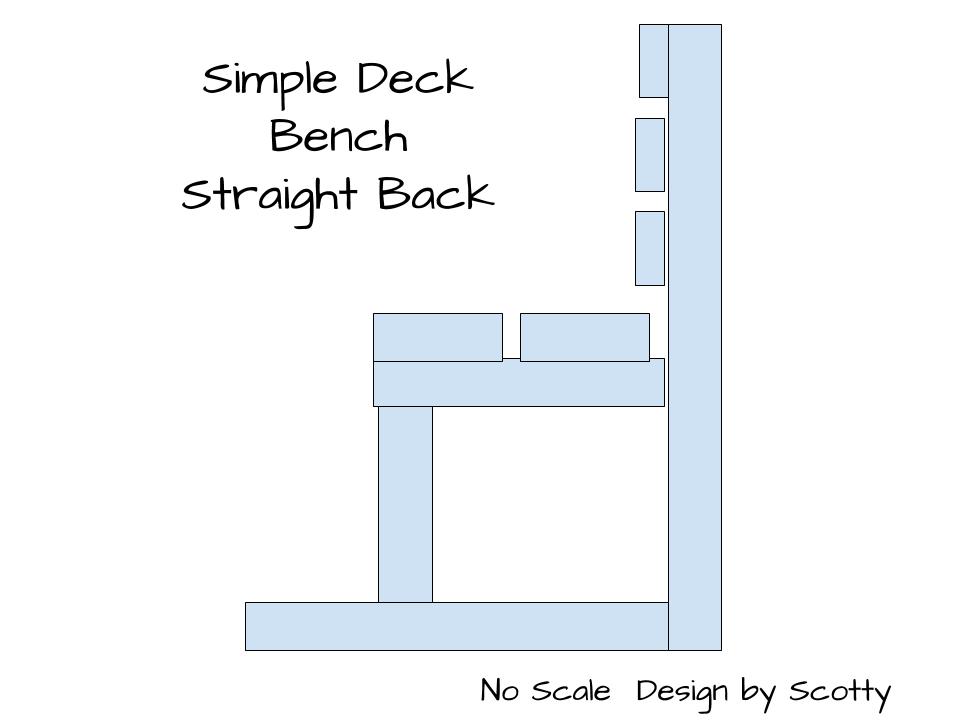
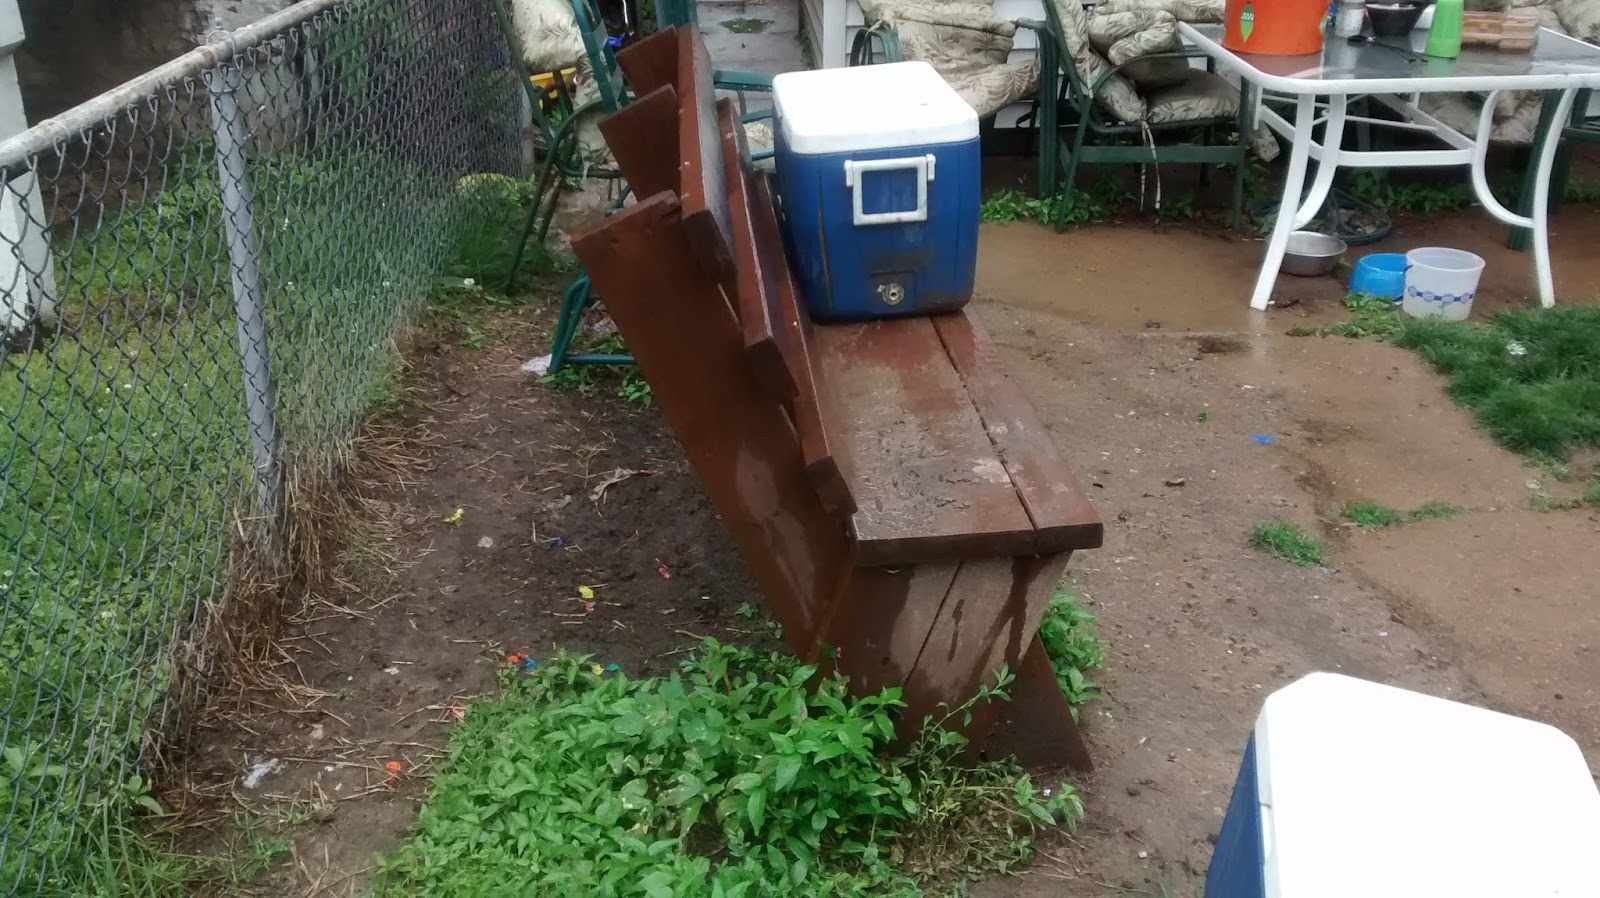
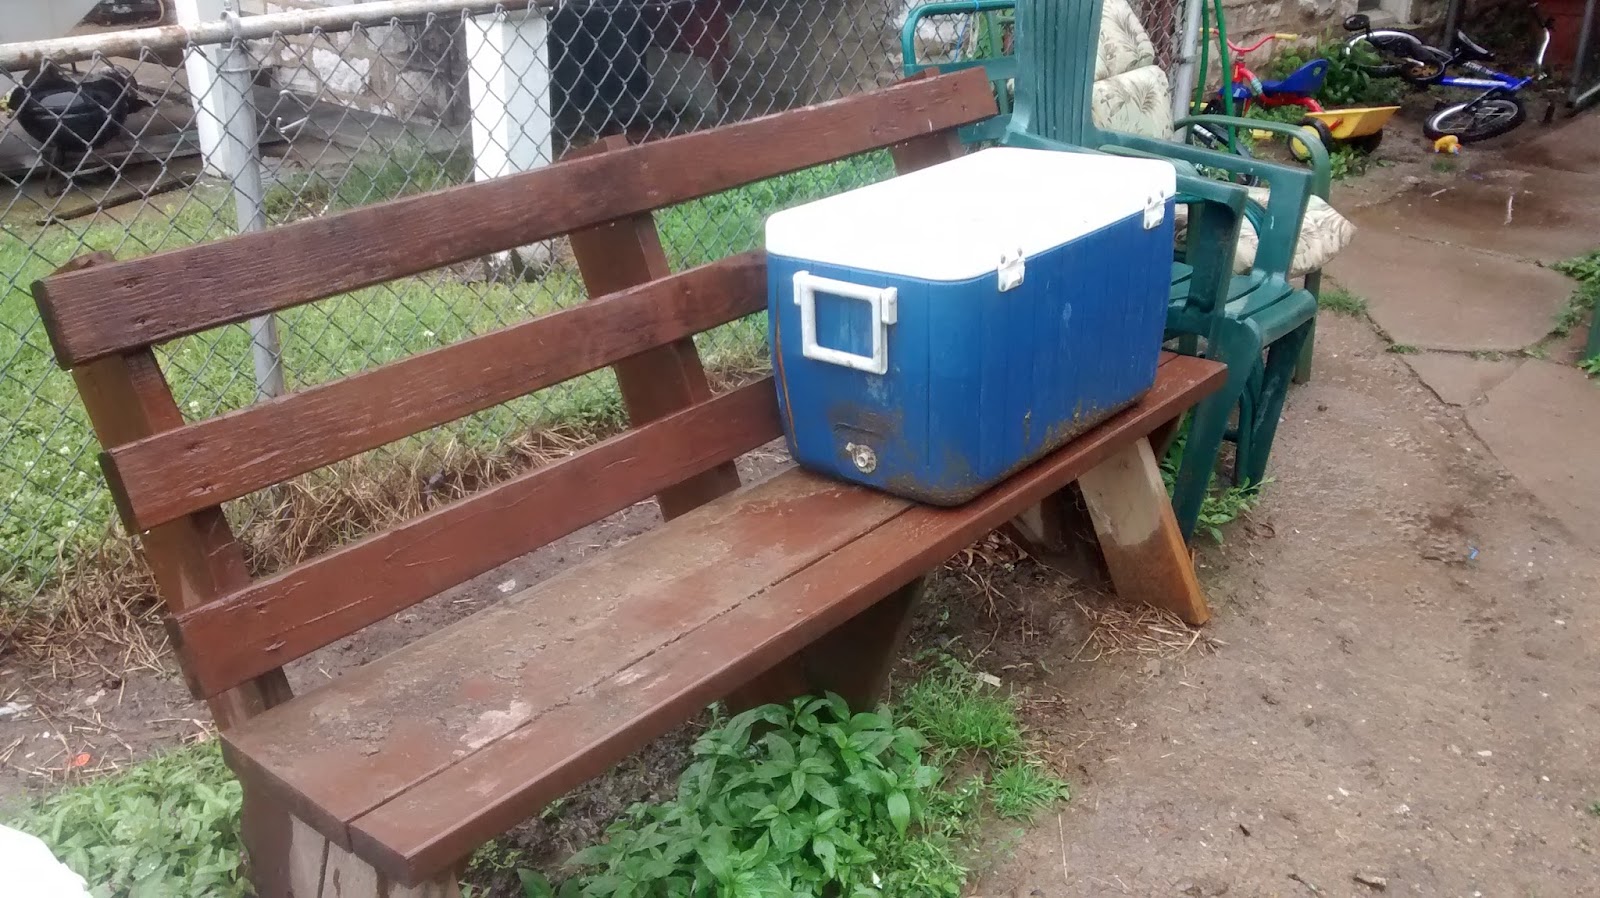
This Bench I made for the Picnic Table from leftover scrap wood I didn’t want to throw away.
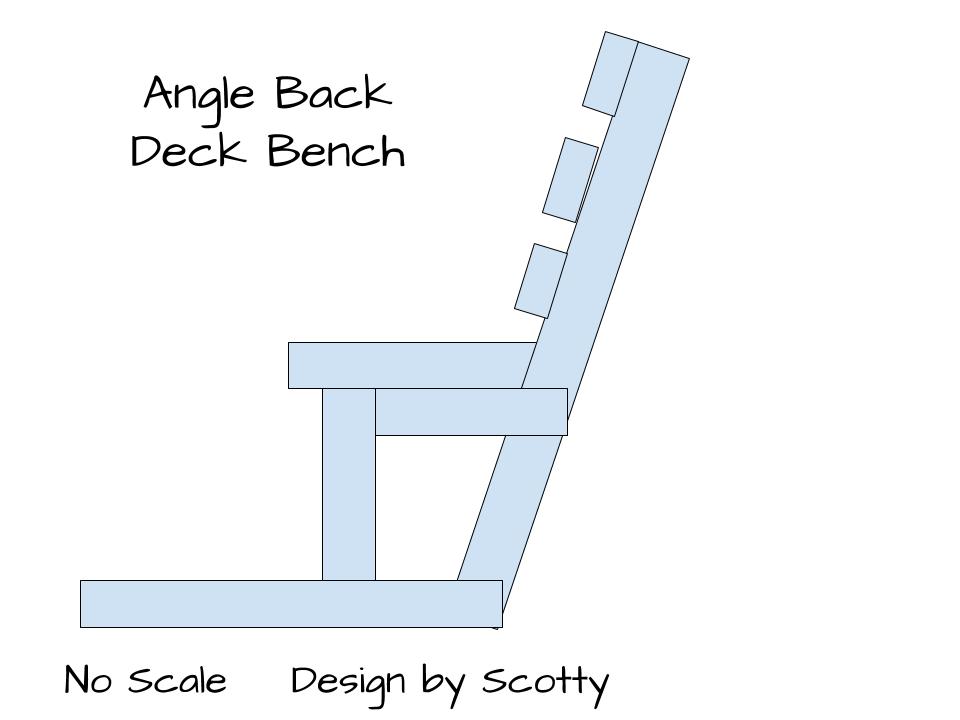
I like the Angled Back Bench Seat it makes the seat like an actual comfortable lawn chair.
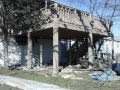
Deck Benches are kool. They are not building code compliant. “If you ever got in trouble in the future they would ask you to make them code compliant.” Like they did on the following jobs site deck project photos. I did for a guy for totally different reasons. (the building inspector and the realtor didn’t get along. The building inspector was right the deck wasn’t right but there was nothing wrong with the deck. I painted it, added metal bracing, fixed the stairs, and added lattice.)
https://www.youtube.com/watch?v=CvUFw6-GYhQ
Feb 21, 2013 - Uploaded by Scotts Contracting
St Louis City Building Code Officials said: "Bring the Deck to Current Building Codes or Tear It Down". We ...
https://plus.google.com/photos/+scottscontracting/albums/5715256359919427265
Saving a Deck From the Landfill. 62 photos. · Shared publicly · ... Just added Action Photos to the Green Build Deck Project. Read more...https://plus.google.com/photos/+scottscontracting/albums/5715256359919427265
The reason Deck Benches are not code compliant is because a child could climb on the bench, and then climb up the back of the bench and fall over the side of the Deck.
This is the one of the best stains I’ve ever used. I used it on this deck below. What a kool deck this guy had, it was huge. The stain was called TPW Stain. He ordered it online and it came in the mail.
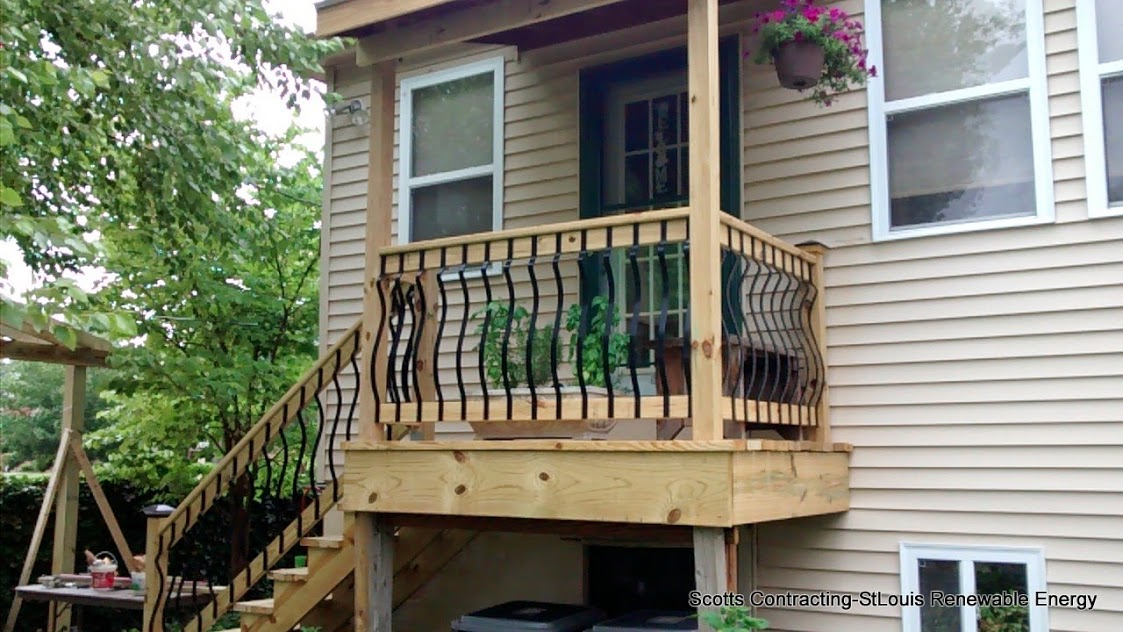
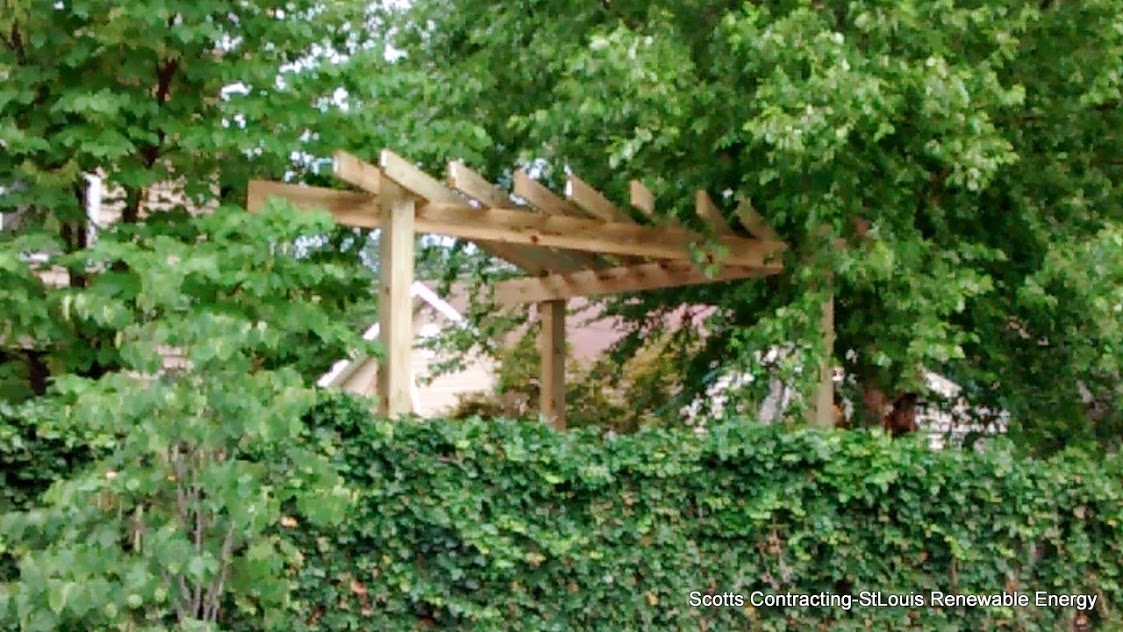
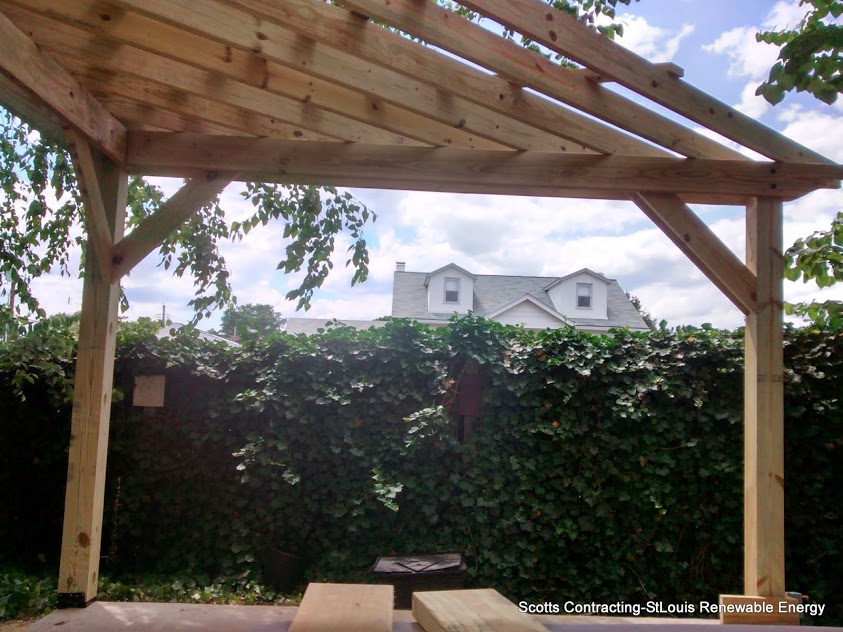
The lumber in the brown bench pictures above came from a project right off macklind. Here is all the photos: https://photos.google.com/album/AF1QipPSm8EtTrpKpl4RddiUJuzQK7Ja54xU-zLKliOr I want to point out that this lady chose metal to jazz up deck. It was expensive, she liked the Natural Look and is why she didn’t have me protect the wood-with paint or stain- of the porch and pergola I built.
You might remember seeing this sticking along side of the road Macklind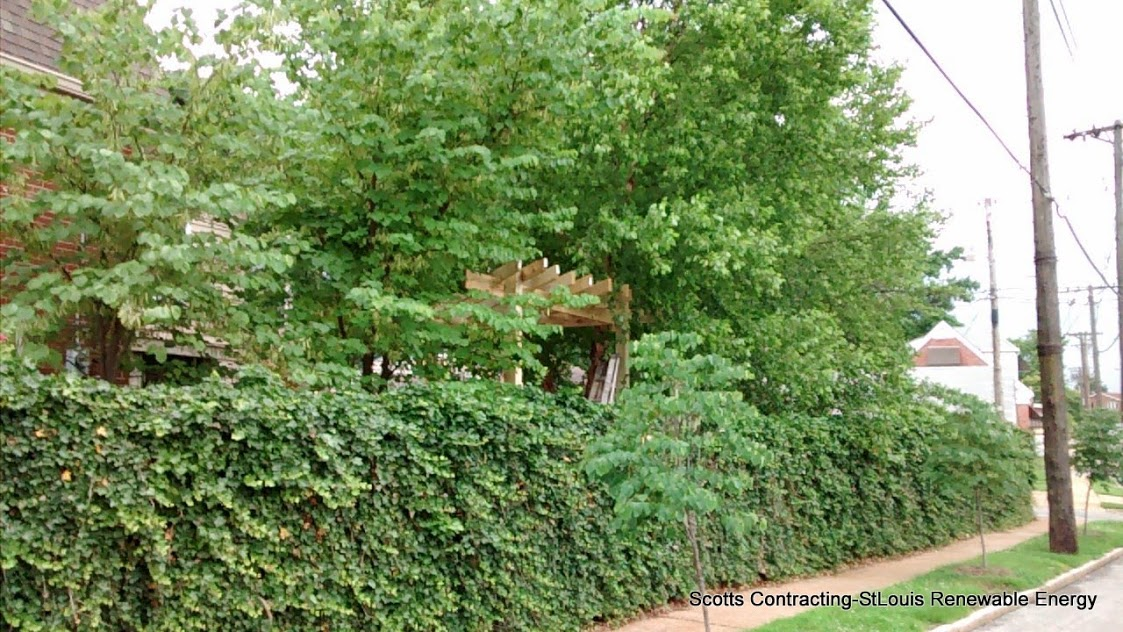
Thank You for stopping by the Green Blog. If additional information in needed or you have a question let me know by posting a question or comment. Together we can make a difference and create a future that will benefit everyone.